
FOLDed introduces a new dog robot, Dog Bot BBT. He’s a bit rusty, but he’s still loyal and well behaved.
Assembly Instructions:
Before you begin you might want to view the “Getting Started” page for tips and suggestions.


FOLDed introduces a new dog robot, Dog Bot BBT. He’s a bit rusty, but he’s still loyal and well behaved.
Assembly Instructions:
Before you begin you might want to view the “Getting Started” page for tips and suggestions.

3 Cats: Uke Kitty, Brandy Cat (a.k.a. “Hello Mister Bond”), Coffee Cat. This set of three FOLDed cats was originally designed for a show of cat related art at Argyle Fine Art. You can buy this set at Argyle Fine Art in Halifax, NS, or you can order direct from Ed in the FOLDed store.
Assembly Instructions:
Before you begin yo might want to view the “Getting Started” page for tips and suggestions.1)
These instructions apply to all three cats in this series.
Carefully cut out the cat body and the tail section. Cut along the solid black outlines, DO NOT cut the dashed fold lines.

2) Carefully cut slits indicated by the white lines.

3) Fold along all the dashed fold lines. Making all the folds first will make assembly much easier.

4) Insert the tabs into the corresponding slots.

5) Attach the tail section. The position of the tail slot may vary depending on which version of the cats you are assembling.

And you are finished! Enjoy your FOLDed cat. Where will you keep your new cat? Let me know!

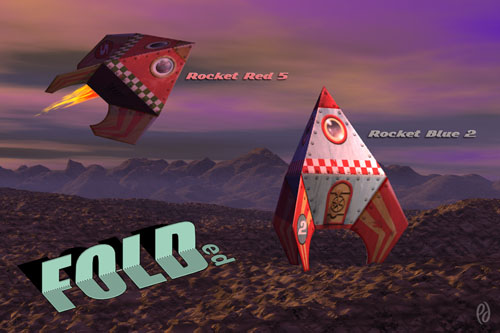
After much trial and error I have finally designed a FOLDed rocket that I like. The trick was making a shape that was interesting but not too difficult to fold. I think this design is a nice balance. There are two versions of the rocket, Rocket Red 5 and Rocket Blue 2. These instructions apply to both versions.
Assembly Instructions:
Before you begin yo might want to view the “Getting Started” page for tips and suggestions.1)
Carefully cut out the rocket. Cut along the solid black outlines, DO NOT cut the dashed fold lines.

2) Carefully cut slits indicated by the white lines.

3) Fold along all the dashed fold lines.

4) Now the for the fiddly part. Carefully, and with patience, close the shape by inserting the tabs into their corresponding slots. A into A, B into B, and so on.


I found it easier to do the sides first and the bottom last.
This is the shape you are going for. Essentially it is two three-sided pyramids with fins.

And that’s it! Let me know how it went for you.
